Cockpit floor teak removal
February 27th, 2023
Like much of the teak on Te Tāiko, there are lots of signs to indicate that the teak on the cockpit floor has to go. Most recently a squelching sound under the teak king plank made us say enough is enough - that teak has to go!
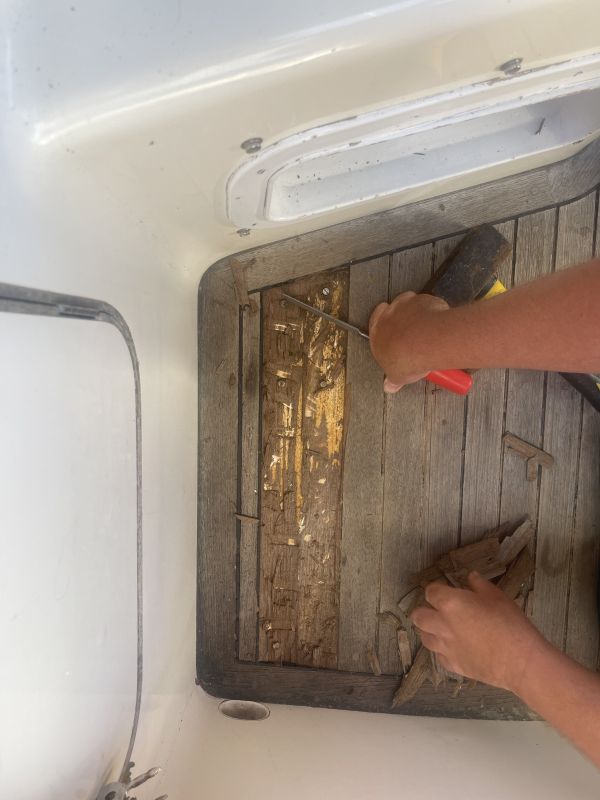
You have to start somewhere! The port aft corner of the teak floor was the first to go!
We are several days into this project and this has been the general process:
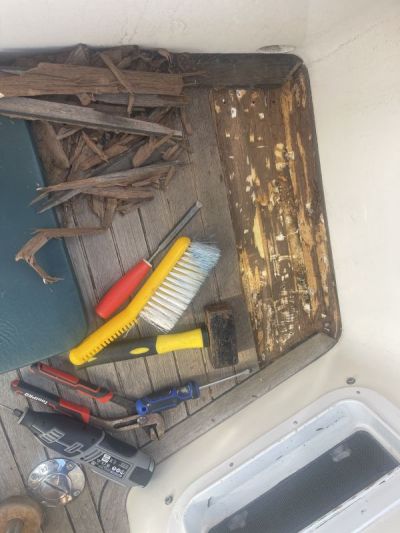
- Physically remove the teak with a combination of chisels (25 mm was the best) and mallets (rubber was kinder to use than the steel one). The teak was both glued and screwed down to the underlying fibreglass so either the teak wasn’t removed cleanly or the teak came off with gel coat and/or fibreglass attached. The resulting surface was therefore a bit of a mess!
- Remove stainless steel screws used to secure the teak.
- Remove residual teak with an electric (800 W) angle grinder with a 40 grit sanding disk. This sanding action was aggressive and made short work of the residual teak.
- Fill all screw holes with West System epoxy (fast cure hardener).
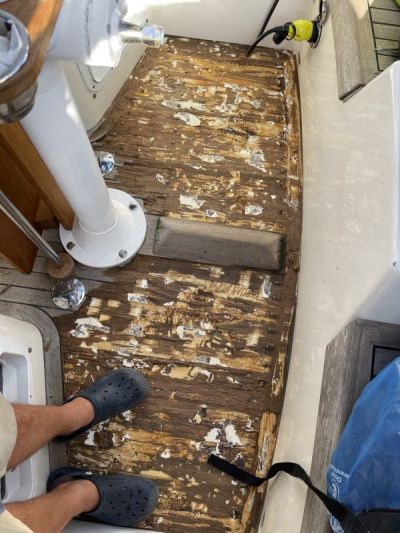
This was typical of what efforts to remove the teak left behind. Teak residue glued to the gel coat. White areas are either exposed gel coat or fibreglass.
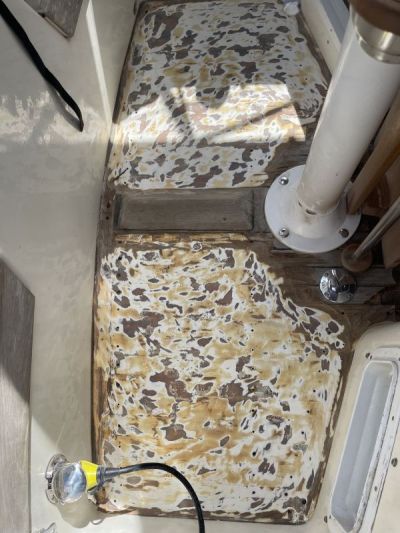
Sanded cockpit floor removed residual teak.
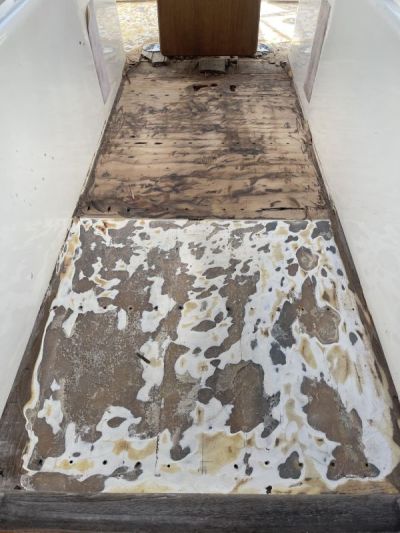
We discovered that the cockpit floor between the pedestal and companionway entrance features a plywood section where a life raft locker could be installed
This is where we are currently at. The next step is to remove the steering pedestal to expose the complete cockpit floor. Then faring, templating, building the cockpit floor to level with the drains, glassing to waterproof, painting and finally applying non-skid mat.
Further updates will be posted here.
Cheers from Skipper Adam.